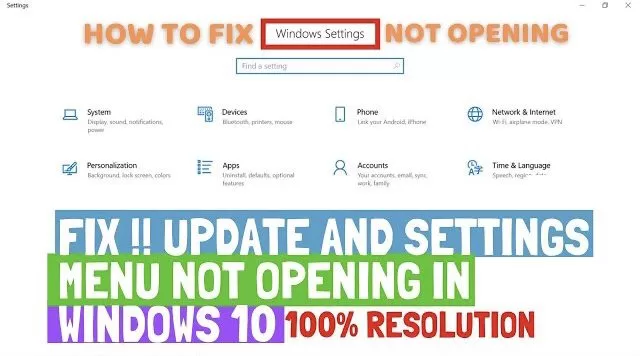
Many users are facing challenge while opening the settings menu in windows 10 specially after the latest update. So here in this guide we gonna fix this error as it keeps on increasing due to bug present in windows. However, the actual reason is still unknown but we will try to fix all the probable causes for this error.
#Method 1 : By Installing Necessary Update
In order to perform this action, click on search bar next to your start menu and type control panel in the search box. Click on the first option available to open the control panel in your computer
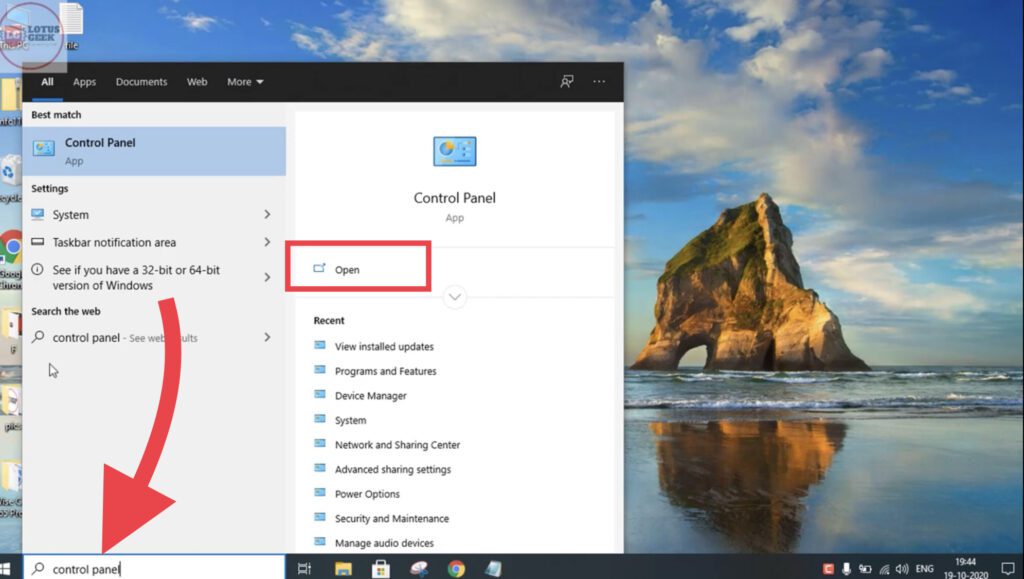
Once control panel is opens, click on the search bar and type windows update, now click on “installed updates” option from the search results.

Once you clicked on view installed updates, another window will open. Over here find an installed update with name KB3036140

If you find an update with the name KB3036140, kindly uninstall by right clicking on the update and click on uninstall option to completely uninstall the update.
Now our next step is to install the latest updates. In order to install latest updates, click on the below link to open official Microsoft website and click on update button to download the update assistant.
Once you open the link, click on the Update Now button to download the update assistant

After downloading the update assistant, right click on it and click on Run as administrator to run the update assistant with admin rights.

Now the update assistant will start its process automatically and update your windows by its own
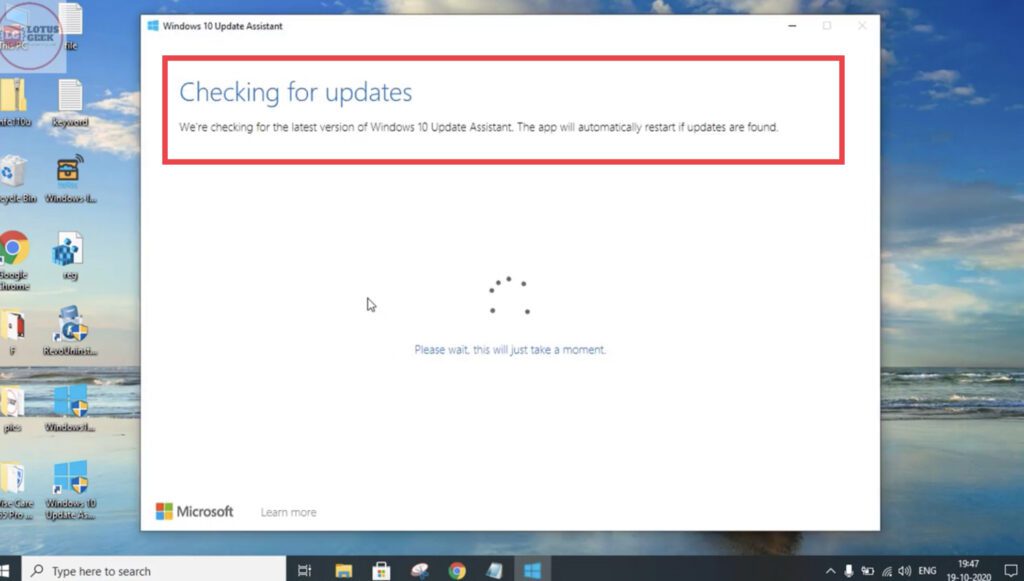
Once the update is completed, restart your computer and than check if your problem is resolved or not.
#Method 2 – Using DISM & System File Checker
In order to take help of DISM, open the command prompt as an administrator in your computer. To open command prompt, click on the search bar next to start menu and type cmd and than choose Run as administrator
Now type the following command and hit the enter key to proceed :
DISM /online /cleanup-image /startcomponentcleanup

once you type in the command hit the enter button to start the command to process. This process will take upto 10minutes depending upon the speed of your computer.
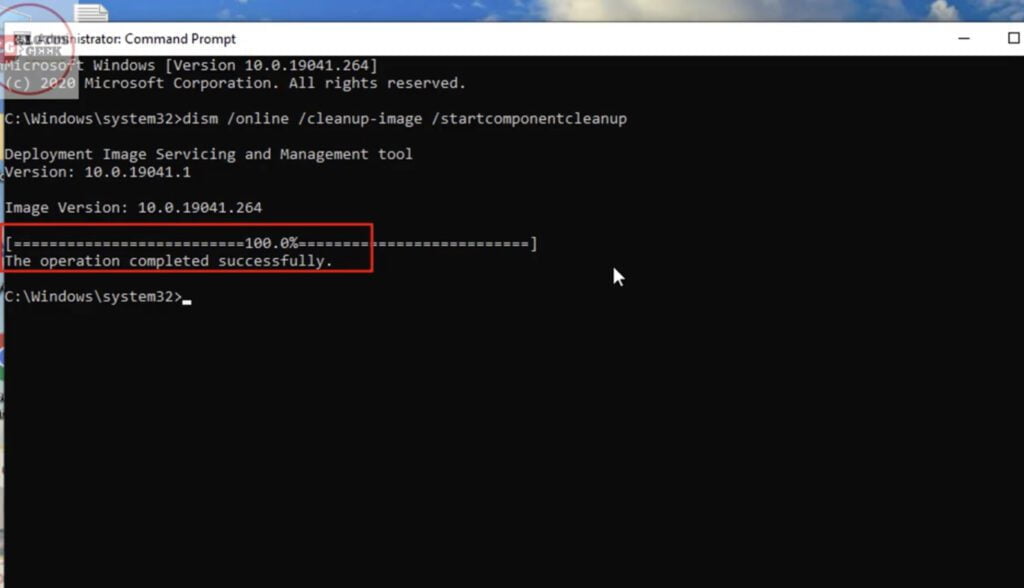
Once the process is completed restart your computer
Now next step is to run system file checker in your computer
To use system file checker you need to proceed as stated above for opening the command prompt as an administrator.
now when command prompt opens, you need to type here the following command and than hit the enter key to proceed.
sfc /scannow

After hitting the enter key you need to wait patiently for upto 20 minutes as this process is time consuming and once the process is completed, if there are any violations found they all will be corrected by the same command automatically.

Now after the process is completed restart your computer
Now check and try to open settings in your computer
#Method 3 – By Re-Registering Settings
To Re-Register settings in your computer, you need to first open the powershell with admin rights. To open powershell click on search bar next to start menu and type Powershell. Choose the first option, Run as administrator to open Powershell with admin rights.

After opening the powershell, you need paste the following command and hit the enter button to proceed.
Get-AppXPackage -AllUsers -Name windows.immersivecontrolpanel | Foreach {Add-AppxPackage -DisableDevelopmentMode -Register “$($_.InstallLocation)\AppXManifest.xml” -Verbose}

Once you hit the enter key, command will start processing and it will take around 20 seconds to process the complete command. This will Re-Register your settings in windows 10

Now after the command is processed, type exit in the powershell and hit the enter key to close powershell. Restart your PC and check for any error.
#Method 4 – By Creating new User Account
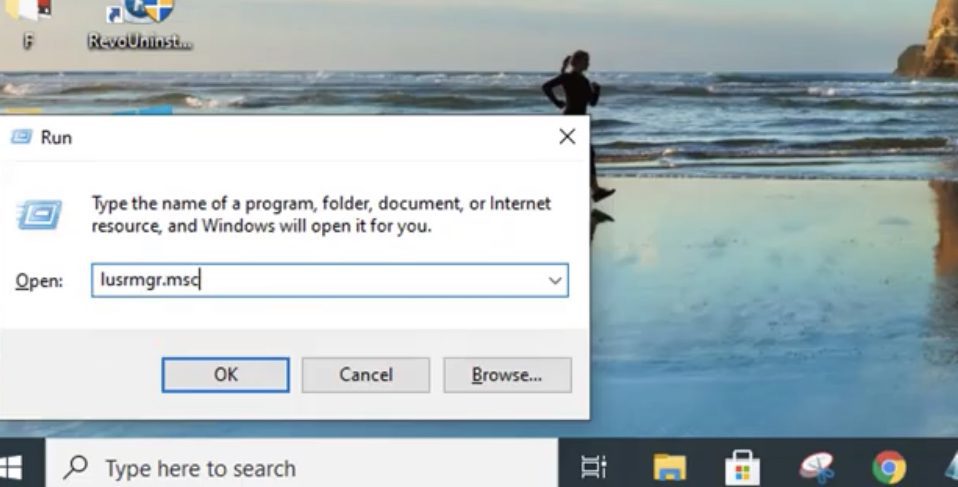
In order to create new user, press windows Key + R key, to open the run command in your computer. Now type here lusrmgr.msc and hit the ok button to open the local group policy of your computer.
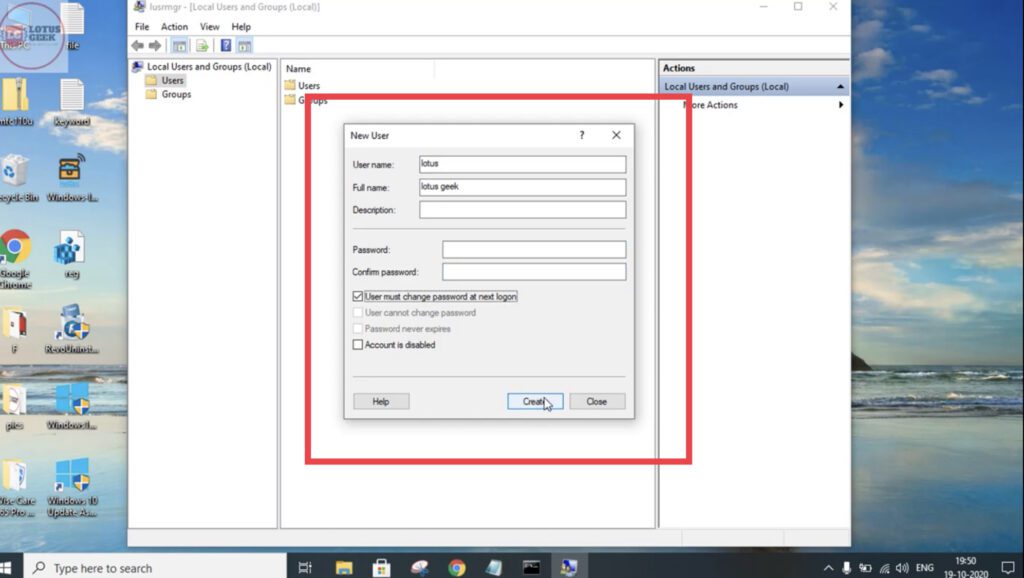
In local group policy, Right click on the user folder present in left hand side pane of the windows and click on new user for creating a new user account

Now fill the details for a new user account. Give it a name, full name, password and hit the enter button to create a new user.
After creating the new user logged out from the current user and than login with the user we just created. Now check for the settings. Here, settings menu must be opening. If all the above method fails, use this account and transfer your data from other user to this current user and start working in the current user only.
That’s all folks. There are the possible 4 ways to fix your error of settings not opening in windows 10.

