

Everyone needs WiFi settings today or later to set or configure various settings in the Windows PC. Sometimes you have to troubleshoot or you would like to connect to the new network. So WiFi settings is the hub to options available for your system. If it’s not showing in taskbar than you can easily enable them through taskbar settings. However, it’s quite annoying when your settings not showing WiFi option and you in the middle of troubleshooting or creating a new account.
Many users have reported the same problem of WiFi not showing in settings of Windows 10 which should be available under Network and Internet category. Culprit is the only one, Problem of WiFi not showing in settings can be occurred due to various reasons like outdated drivers, various services that have stopped working or may be due to the WiFi card. Sometimes windows doesn’t detect your WiFi card and cause WiFi option missing from the Network and Internet category in settings menu.
So, whatsoever is the reason, here in this guide we are going to fix this error of “WiFi not showing in settings of windows 10” read the full article for each step by step guide.
Here is the brief video tutorial to fix WiFi option not showing in settings of Windows 10
#Method 1 : Fix WiFi not Showing in Settings of Windows 10 by Turning on Required Services
The very first or the basic step to fix this error is to check whether the services that are required for WiFi are in running state or not. If not we are going to start them to fix such error.
Simultaneously press Windows key + R to open the run command in your system. In Run command type “Services.msc” and hit the enter button to open the services running in your system.

Now in services section find a service “ WLAN Auto Config”
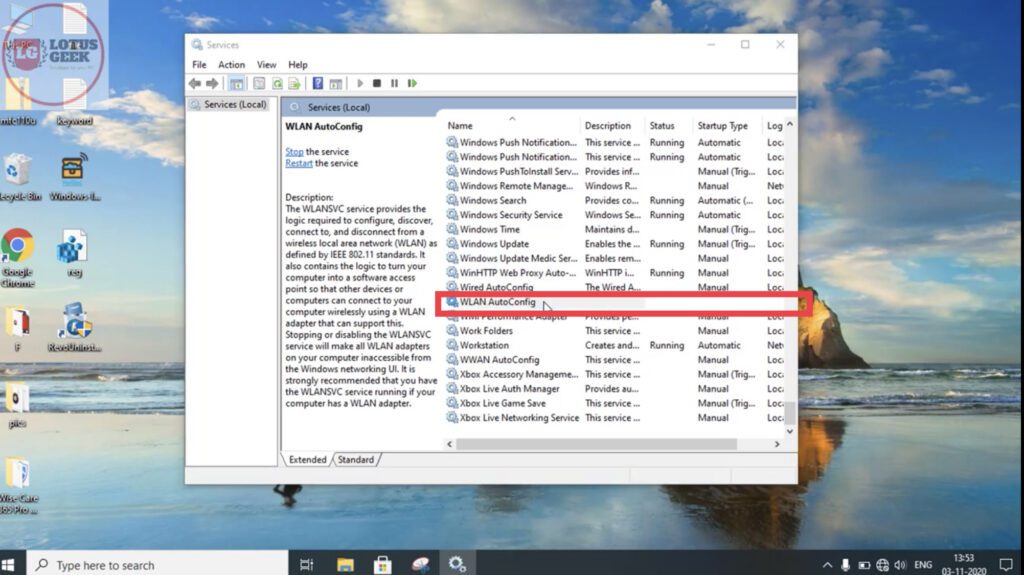
double click on “WLAN Config” to open WiFi configuration services as shown in the below image. Now in services, make sure under the Start up Type option, it must be Automatic if not use to drop down list and choose Automatic to start the service automatically.
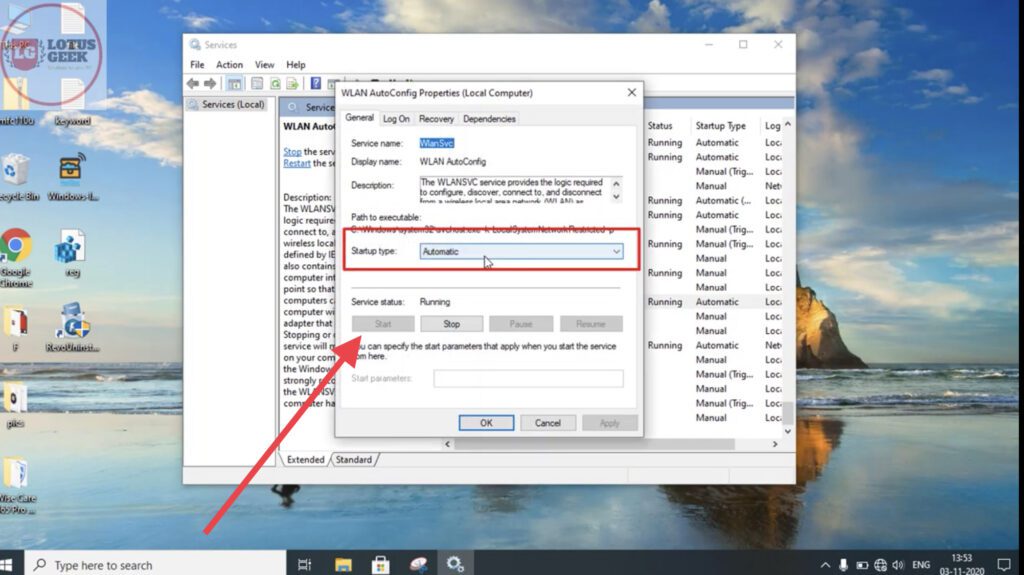
Now in Service Status it should be in Running, and if not click on Start button to Start the service immediately.
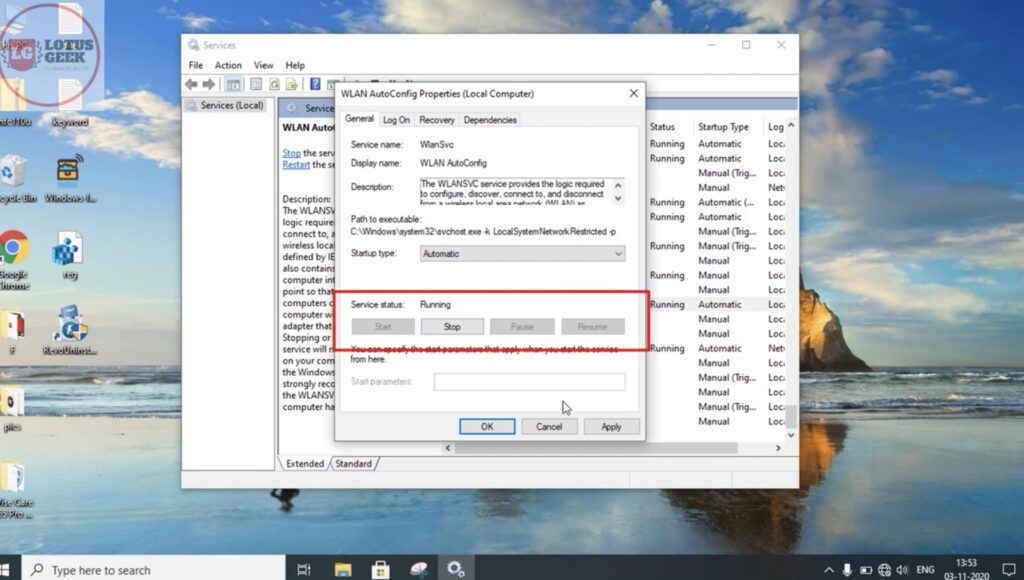
once done, hit the Apply button and than Ok button to close the WLAN Configuration service.
Now next step is to find another service with the name “Remote Procedure Call”

Double click on it to open its options and as we did above and make sure the start up type must be Automatic and the service status must be Running. If not Start the service and choose Automatic in start up type from the drop down list.

Now close the services options, and restart your system for the changes.
#Method 2 – Fix WiFi not Showing in Settings of Windows 10 Using Power Management
Sometimes due to power issue your WiFi drivers stopped responding in your system. So in this step we are going to fix your power management option.
Now again open the Run command by clicking on the search box next to start menu and type “Run”.Hit the enter button to open the Run command.
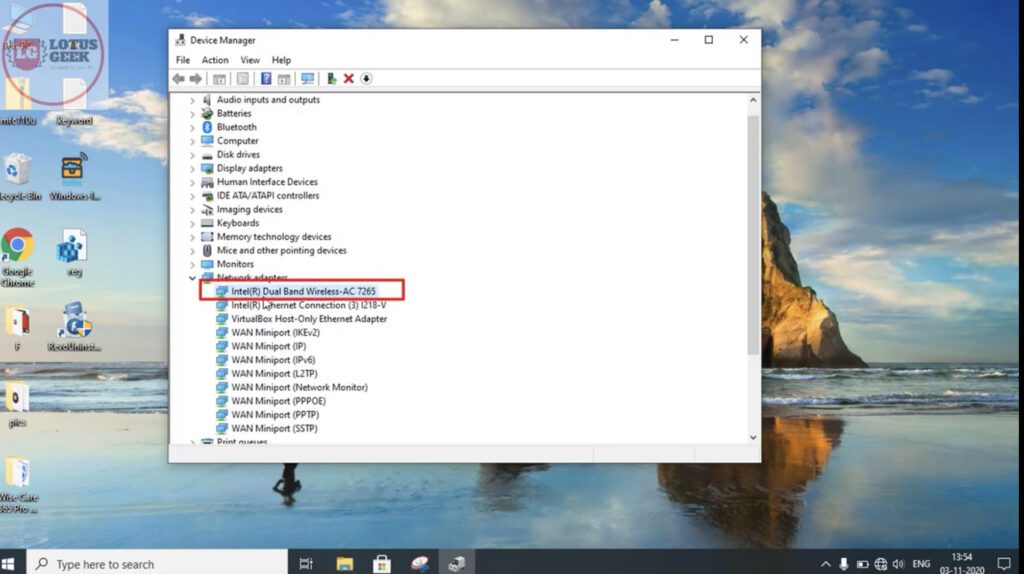
Now type “devmgmt.msc” and hit the enter button to open device management of your system.

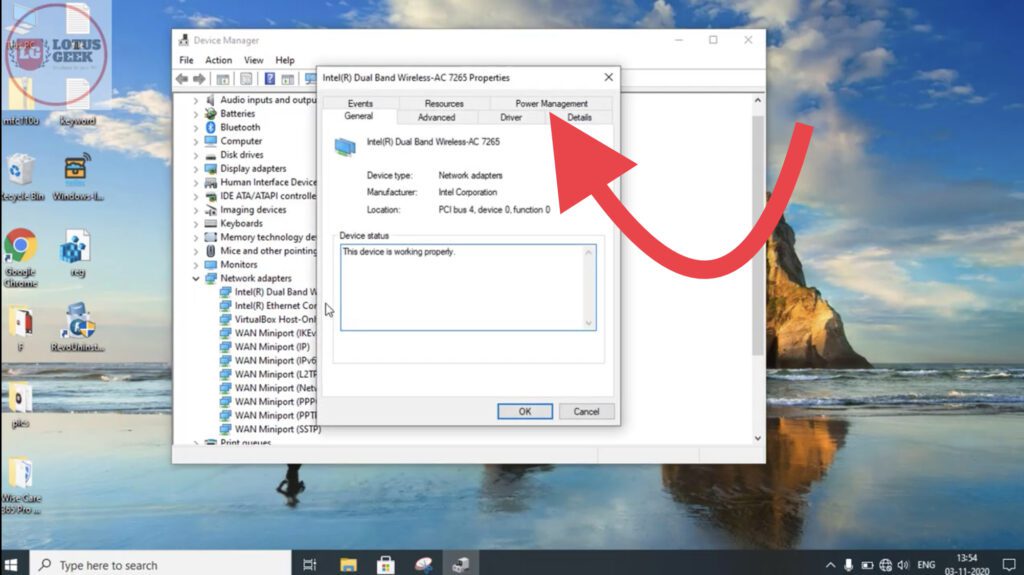
In device management window, find the option “Network Adapters” Expand it and find your Wireless LAN. If can be identified easily as shown below. It must be with the name of “Wireless”
Once you find your Wireless Adapter double click on it to open its properties. In the properties section, select “Power Management” tab to open power management properties as shown below :
In the Power Management properties, Uncheck the option “Allow the Computer to turn off this Device to Save Power”

Click on ok button and restart your wireless router.
#Method 3 – Fix Wifi not Showing in Settings of Windows 10 by Updating Wifi Drivers
I have seen with many users that by simply updating their WiFi drivers helps to resolve many problem. One of them is “WiFi not showing in settings” so let’s go ahead and update the drivers.
As described in the Method 2, open device management by opening the run command and tying “devmgmt.msc”
In “device management” find “Network Adapter” Expand Network Adapter and find your Wireless Network from the list.

Right click on your wireless network adapter and choose “Update Driver” option to start the process.

In the Driver Update Window, choose the second option “Browse my computer for drivers” and proceed to next step

From here again choose the option second “Let me pick from a list of available driver in my computer” and proceed

As shown in the image below, list of available drivers will be shown in front of you. Choose one by one each driver if you have more than one available and install on your system.

Once the WiFi drivers are installed in your system close the window.
Now go ahead and restart your system. This process will update all your WiFi drivers.
#Method 4 – Fix WiFi not Showing in Settings of Windows 10 by Scanning for Hardware Change
There are changes that you unable to update your drivers or not even able to use the power management option in Method 1, it’s because Network Adapter won’t show you the list of available WiFi network. So, if you are also facing such issue than first proceed with this step and go for the other one.
Proceed as shown in above methods to open Device Management on your system.
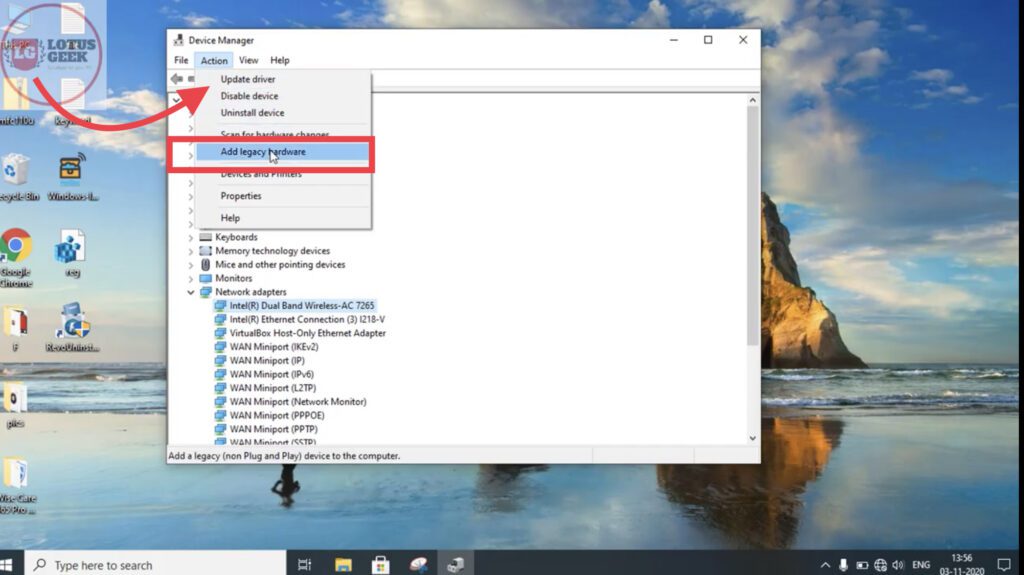
In Device Management window, click on the Action tab available on the top of the screen and choose “Add Legacy Hardware” from the options as shown below :
Now proceed further and click on the next button to continue. Here choose the option second “Install the hardware that I manually select from the list(Advanced)” and click on the next button to continue

In the next window, you are welcome with the set of hardware for your system. Here in the list scroll up or down to find the hardware named “Network Adapter” and choose Network Adapter to proceed further. Once you find Network Adapter click on the next button to continue

Now in the next window you will be getting the list of WiFi drivers in front of you. Choose your device WiFi driver from the list depending upon the Manufacturer and model no and hit the next button to continue

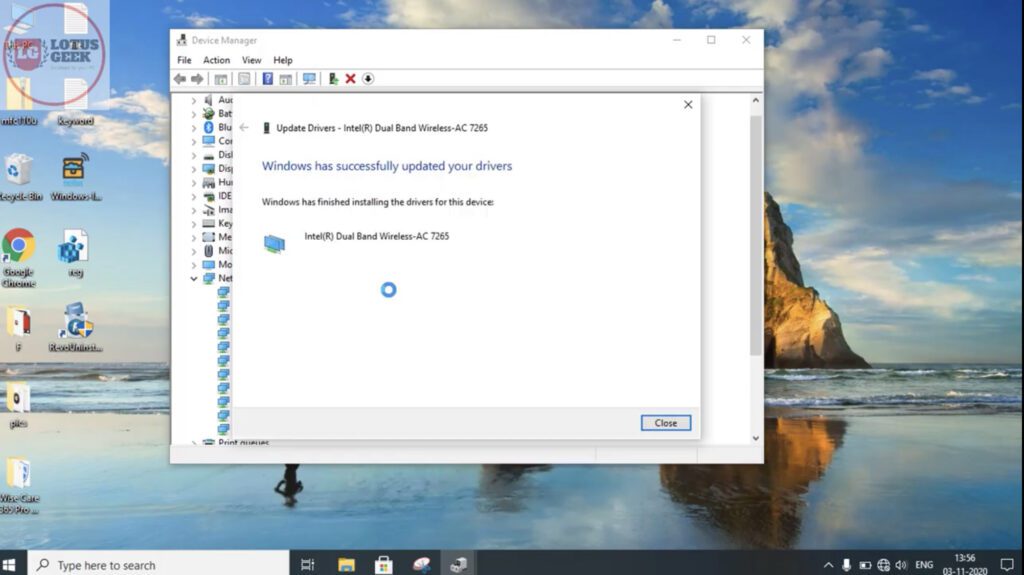
Now after choosing the driver, you driver will be installed successfully. Now go ahead and proceed to Method 1 and Method 2 one by one for the solution.
#Method 5 – Fix WiFi not Showing in Settings of Windows 10 Using Windows Troubleshooter
To use Windows Network Troubleshooter, open your settings menu by either click on start menu and typing Settings or else simultaneously pressing Windows + I key in your system.
In the Settings menu, choose the option “Update and Security” option

Now in the next window, click on the “Troubleshoot” tab located to the left side of window.In troubleshoot window, choose or click on “Additional Troubleshooter” to open the list of all available troubleshooting options

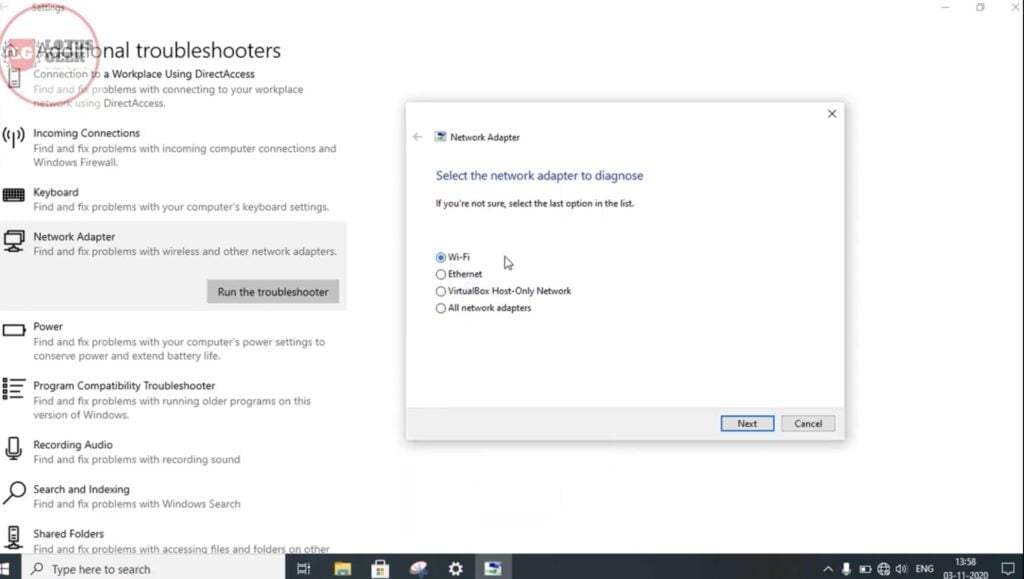
In “Additional Troubleshooters” scroll down using the mouse or up/down keys and find “Network Adapter” Click on it and choose the option “Run the Troubleshooter” as shown in the image below :

After clicking on “Run the Troubleshooter” troubleshoot window will open. From here first choose the adapter which is causing the error. In this case choose “WiFi” as it’s not showing in settings menu
Now follow the procedure to troubleshoot your WiFi connection.
#Method 6 – Fix WiFi not Showing in Settings of Windows 10 Using Network Commands
In this method, we are going to reset WiFi connection using the command prompt. Click on the search box next to start menu and type “Cmd” Now choose “Run as administrator” option to run the command prompt in admin mode

In Command Prompt, type the following command and hit the enter key :
Netsh Winsock Reset
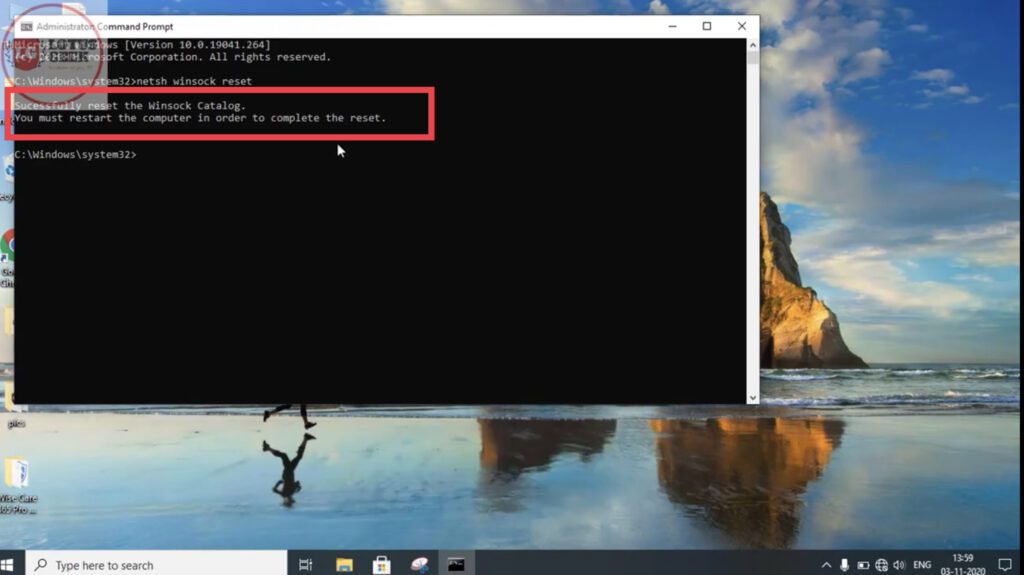
As shown in the image above, restart your system once the command processed.
Now type the following command and hit the enter key :
Netsh Int Ip Reset

As shown, again restart your system after the command is processed for the changes.
After restarting type following command one by one and hit the enter key after entering each key :
Ipconfig /Release
Ipconfig /Renew
Ipconfig /FlushDNS

once done again go ahead and restart your system for the changes to take effect.
That’s all for the error “WiFi not showing in settings of Windows 10” In this articles we have discussed various possible to fix your issue of WiFi not showing if somehow problem still persists kindly commend below to assist you in more ways.
